
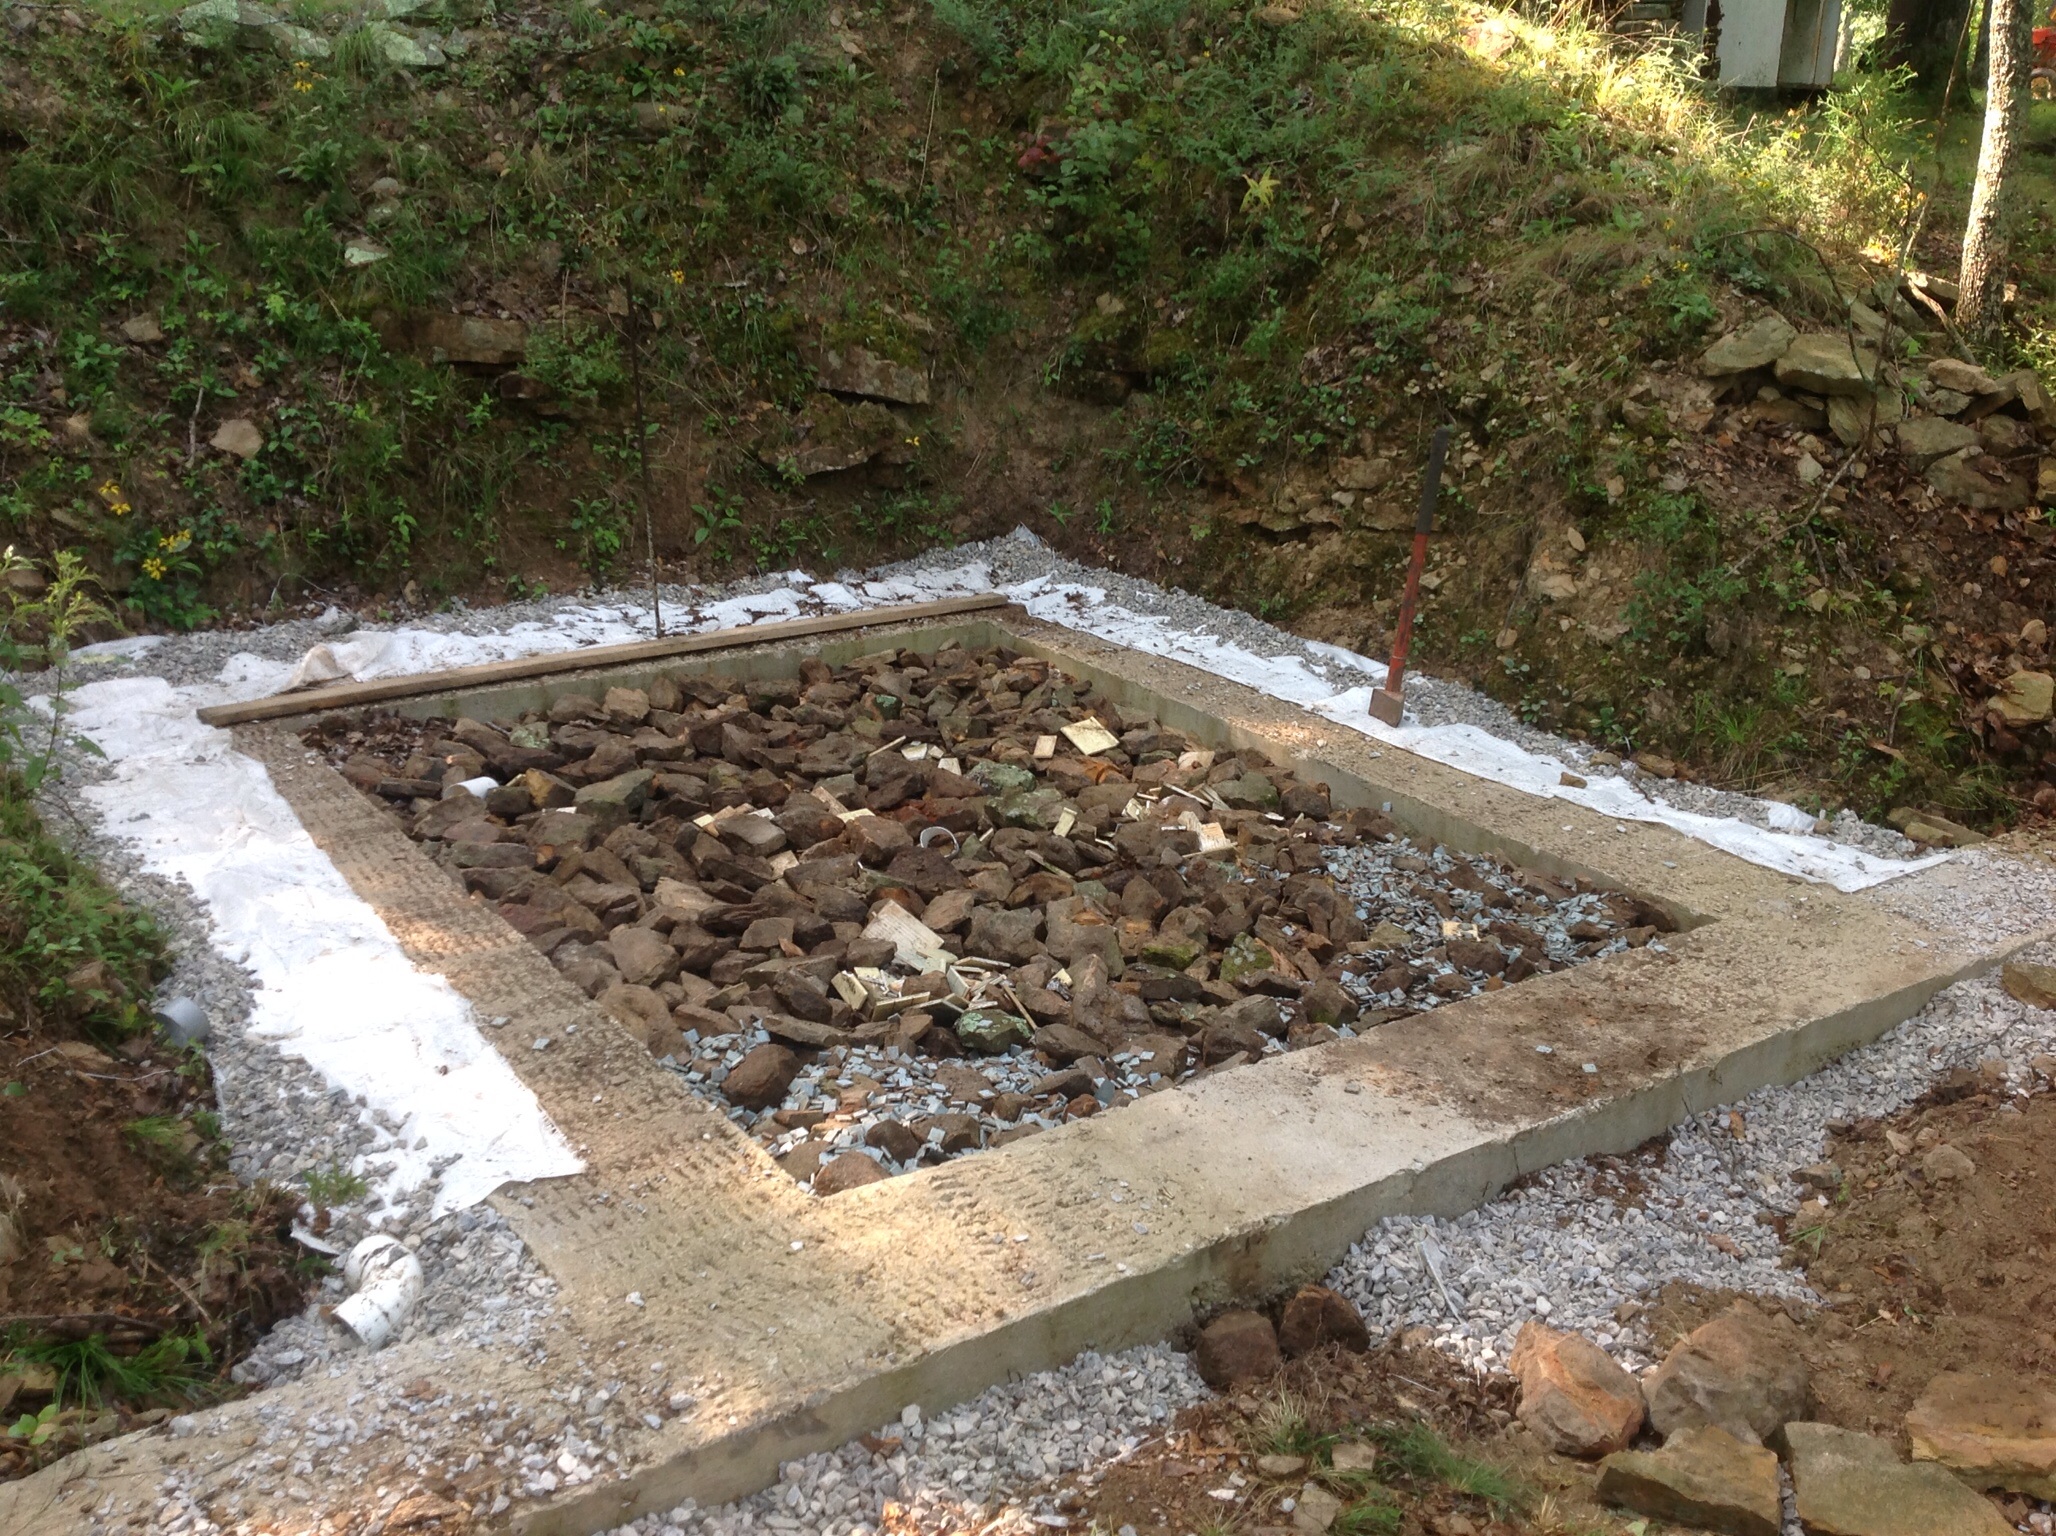
The footing with French Drain installed.
When the Great Ice Storm hit (see The Ice Storm post) I had some really big yellow pine trees down, and a bandsaw mill on site.. When I sawed up all the logs that were down, I saved the best and sawed them to six inches. I have always wanted to build a guest cabin on a block foundation that would also serve as a generator room. Those logs have been drying under a tarp in the Barn Field for five years, so it’s time to get this project underway. As a preventative for procrastination, I told the Arkansas Craft School that I would teach a dovetail notch logbuilding workshop in September 2014, which at this writing is one month away. At this time I have laid a French drain around the sides and back, and have filled the center with gravel. Let’s watch my progress. Be prepared for this to take a while…………
8/29/14 I’ve started the block work on the foundation. First I had to bring home one yard of sand, buy blocks and masonry cement, get the tools gathered that I would need, and scrub the footing to get a good bond with the wall. Also, I would have to learn how to lay block. The weather is extremely hot right now, so I start before sunrise and work until about noon. This photo is after two days’ work:
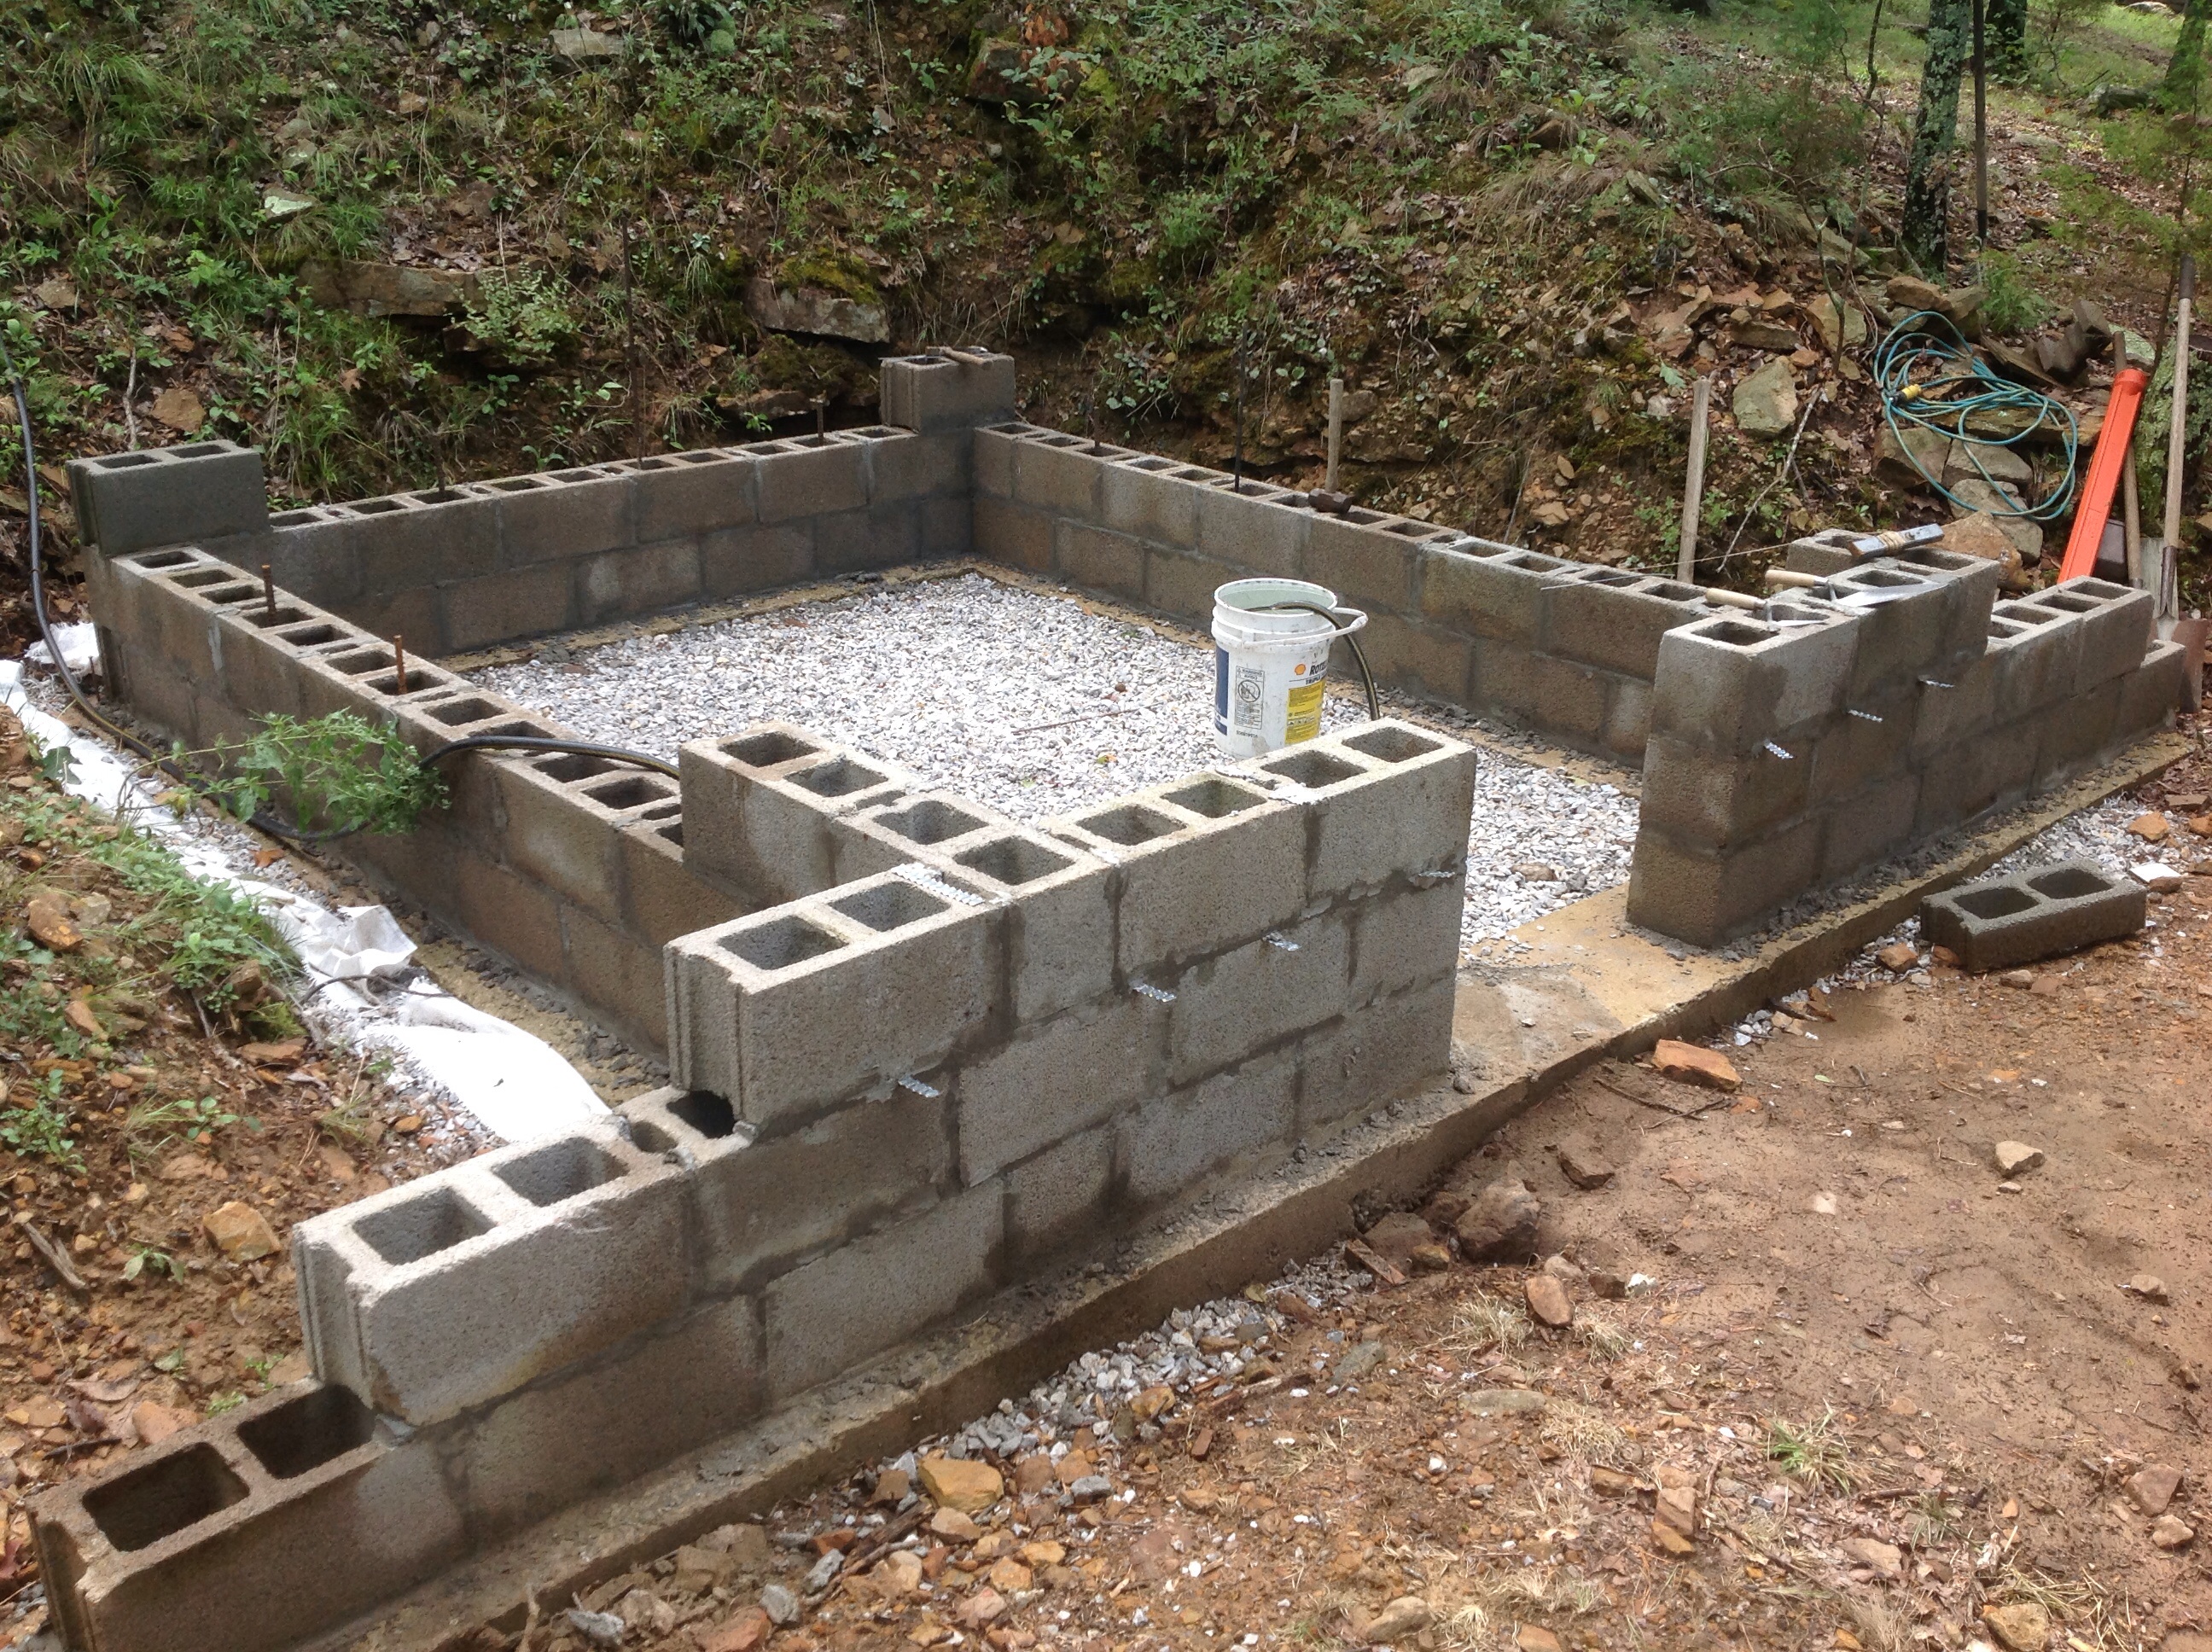
Two mornings’ block laying.
The dovetail workshop was very successful. I had seven students who were all very interested in log cabin construction. Although the foundation wasn’t ready, we cut good dovetails into five logs. They are now back on the log stack waiting for the block work to be finished.

Here we are at the end of the first day of the workshop, along with Hector the Donkey.
9/29/14: because I’ve been busy with other duties, I’ve only had a few days to lay block on the foundation; I’m now almost done. Laying cement block, at least for a novice like me, is difficult and frustrating work. I mix my mortar in a wheelbarrow with a hoe, and a lot of it ends up on the ground or down the holes in the blocks. I could have hired a mason to do the job, but I am cursed with the need to do everything myself! Here’s what it looks like today:
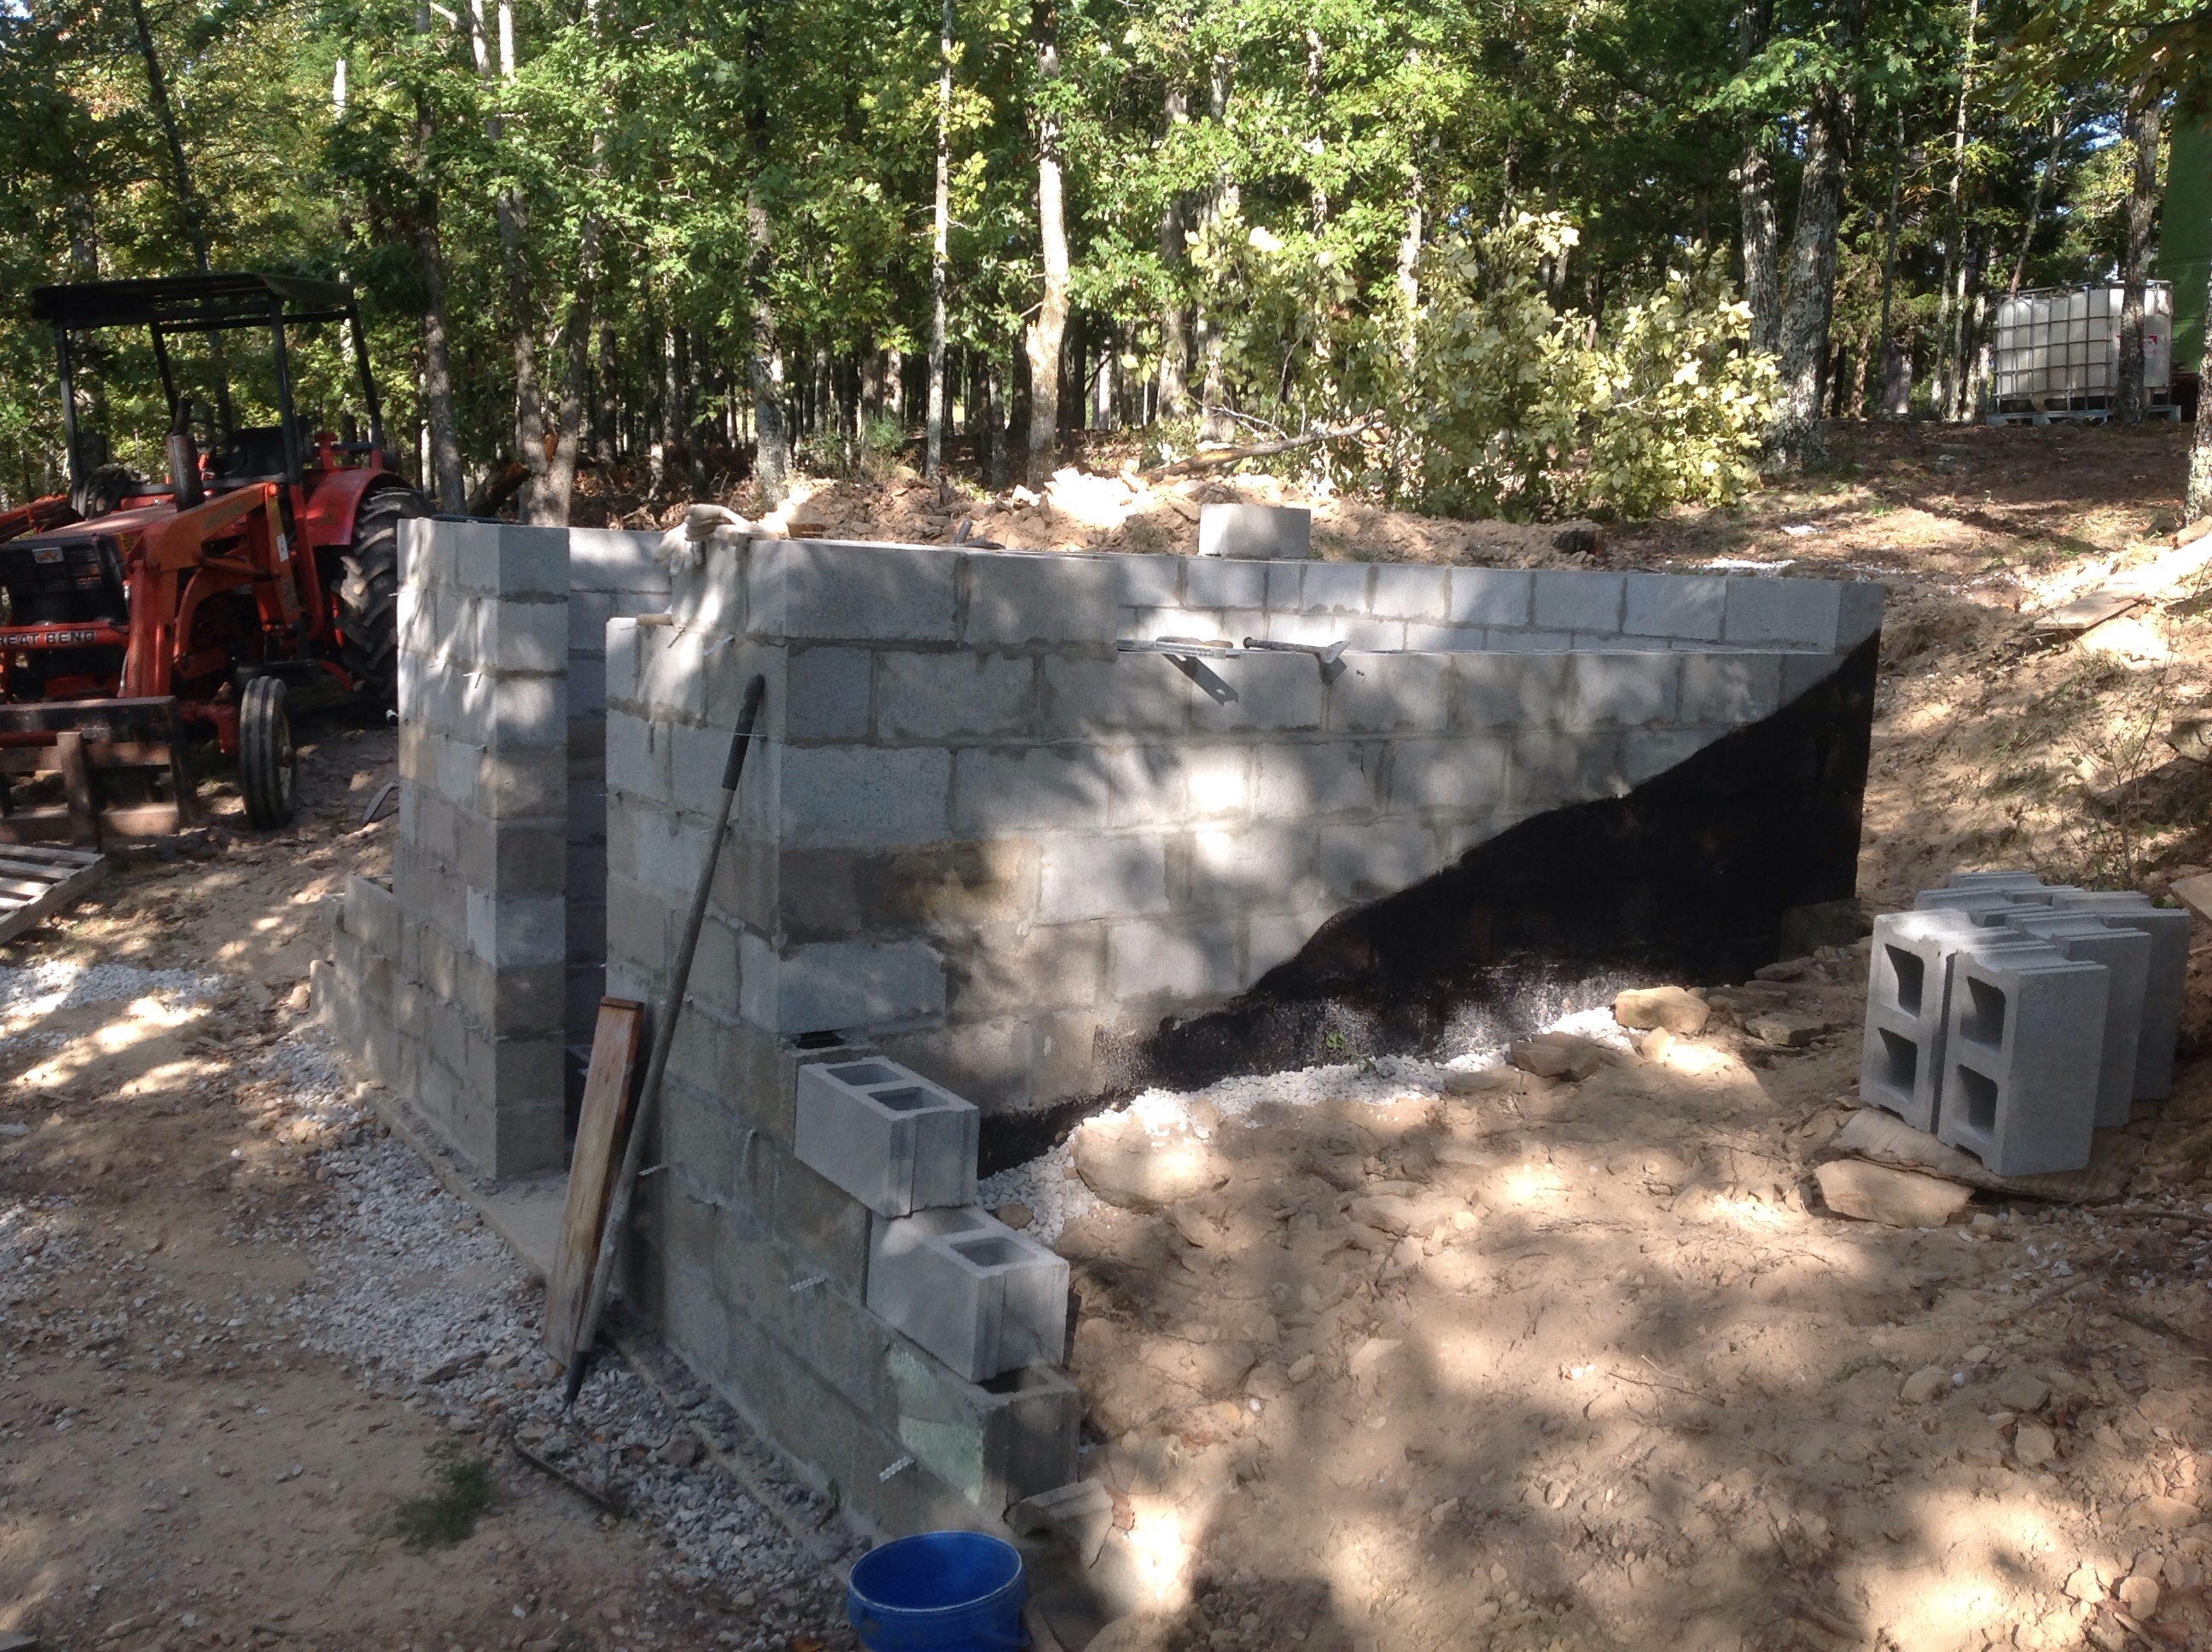
One more row of blocks to go. About half the backfilling is done, and the blocks are waterproofed
10/28/14: The foundation is now finished. I stuccoed the side walls a few days ago, and yesterday Jed and I worked at finishing the backfilling and landscaping the ground around the foundation, using the dirt that was dug out of the hole thirty years ago. I’m probably going to put the whole project on hold until next spring.
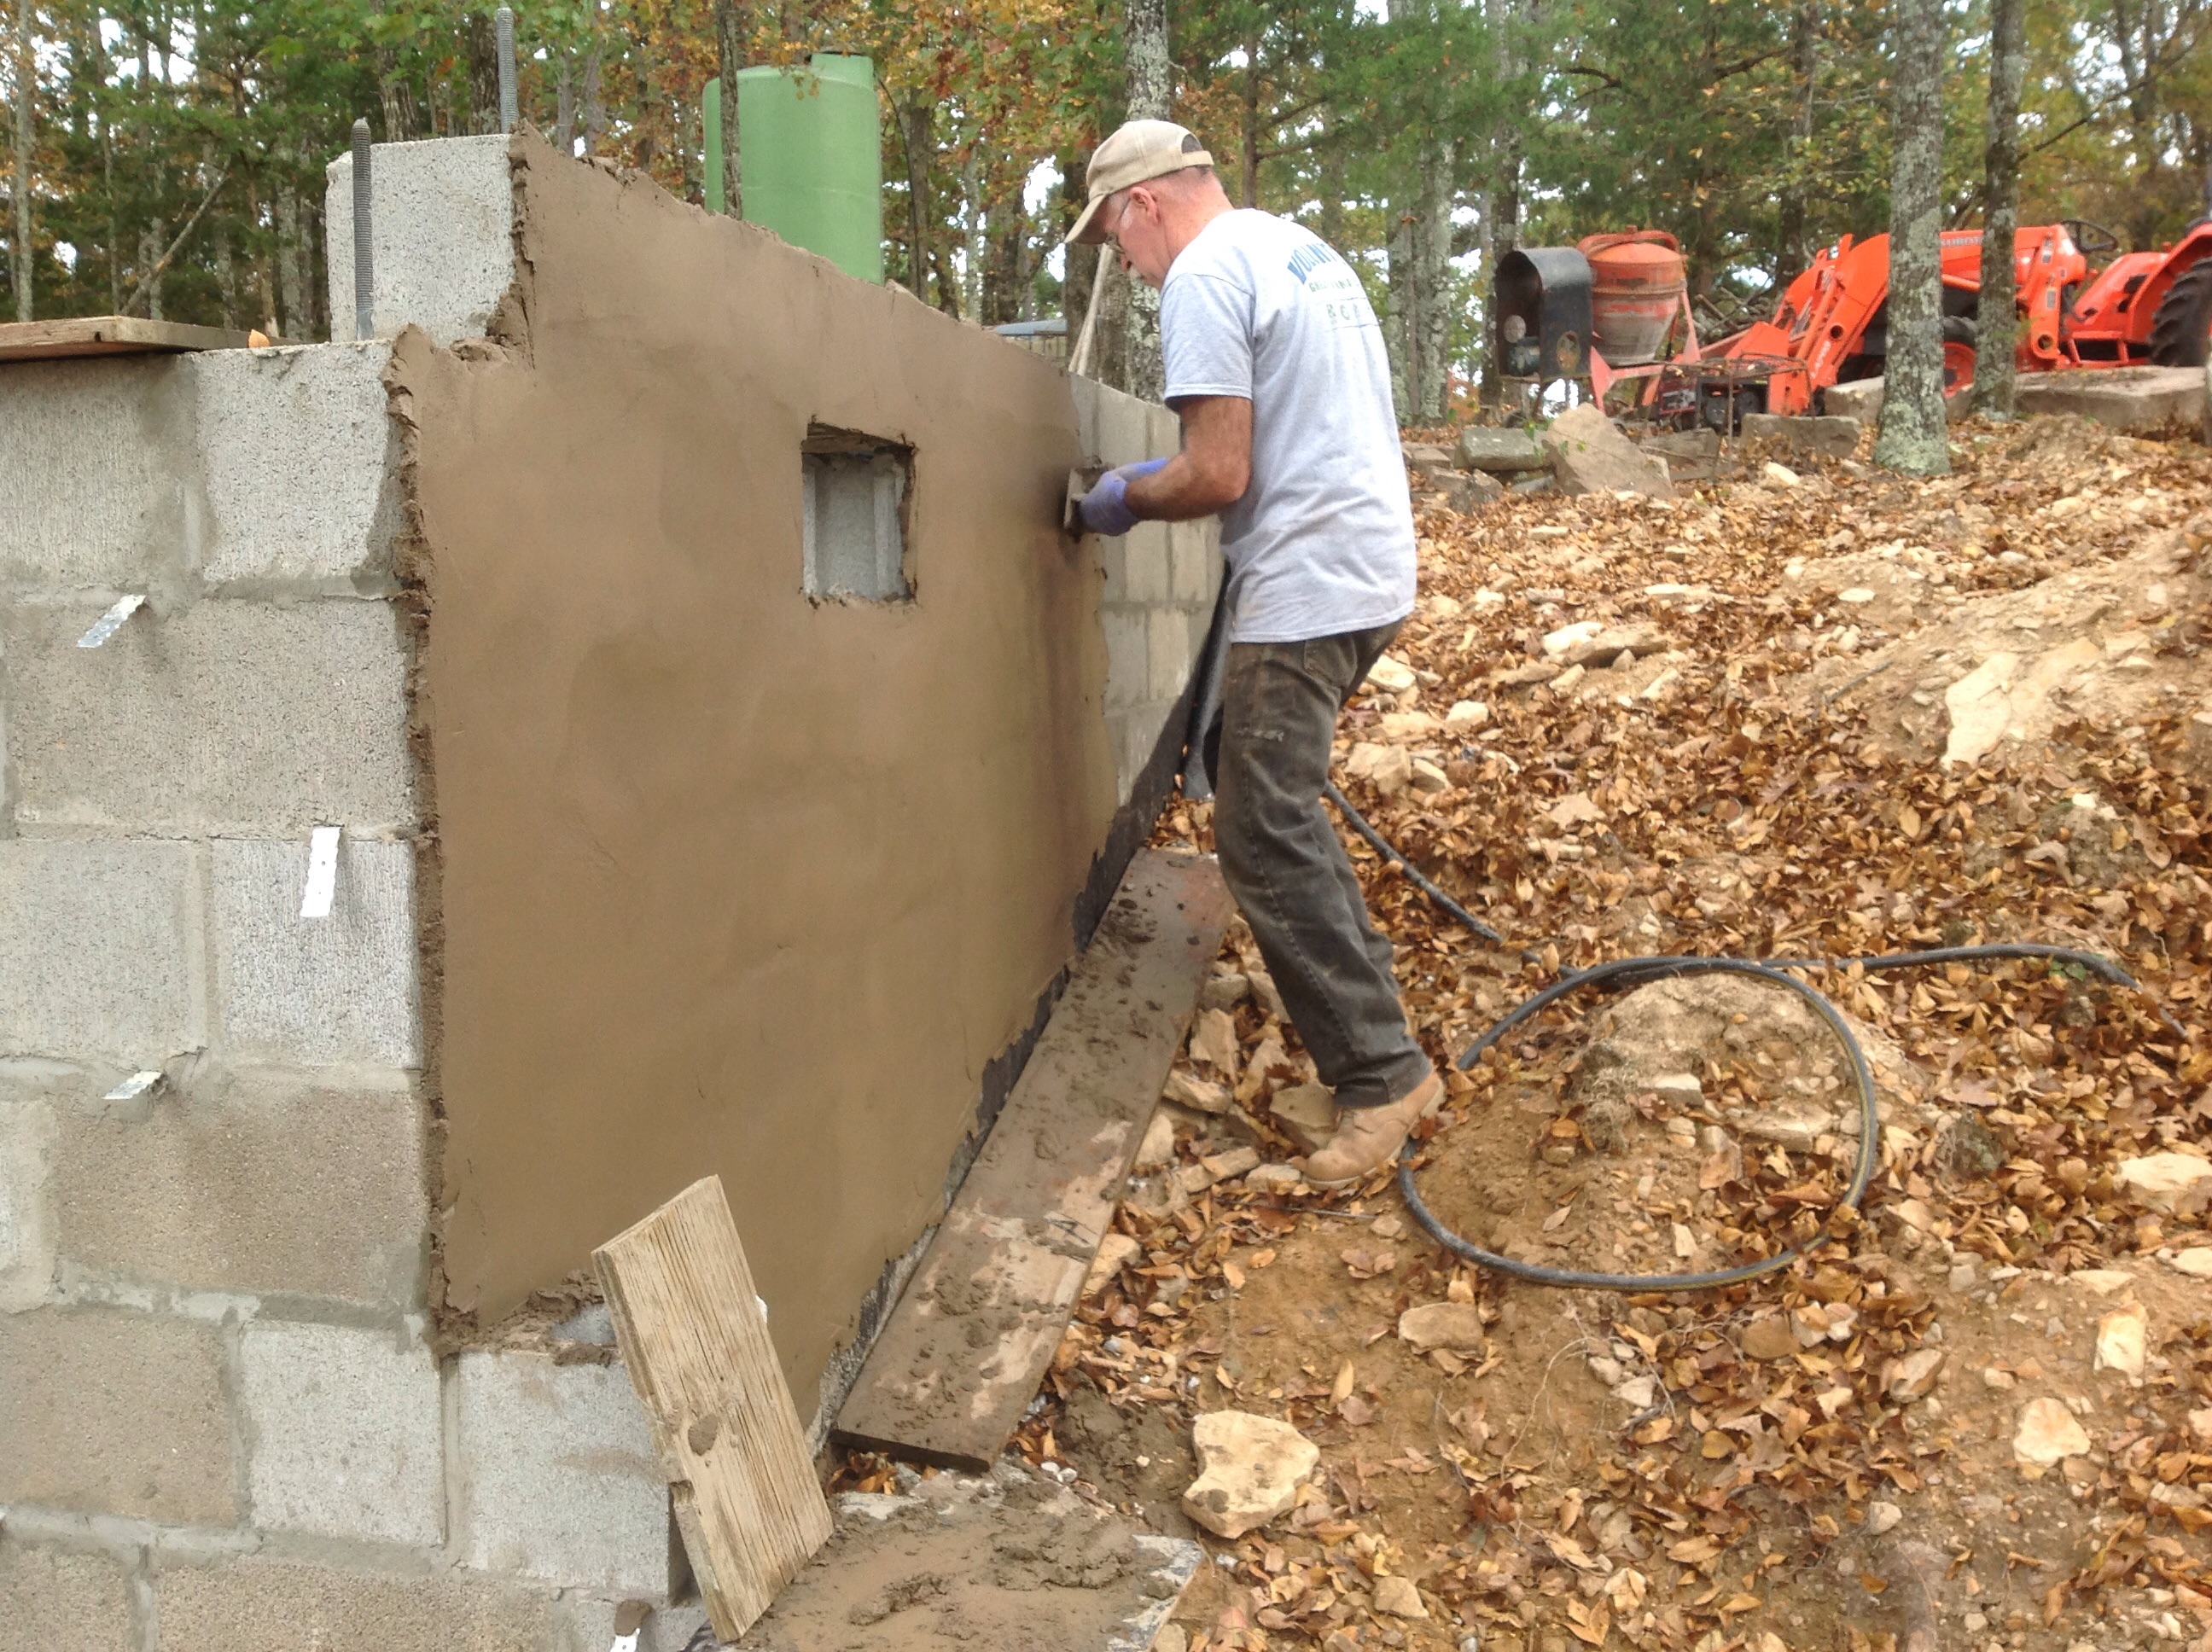
Here I am applying stucco to the South wall.
June 12th, 2015: During the winter, which was long and cold, I wasn’t able todo much at the cabin site. I did, however, need a lintel beam to go over the door in the foundation. Since the doorway would have been just a hair over six feet, and since I love arched doors, I decided to carve a arched lintel in an oak beam. In November I cut a big white oak tree that had died over
How I made the arch in the bottom of the lintel beam
the winter, and had my friend Craig saw an 8X8 out of the ten-foot log I took him. While snow had me holed up in my shop in January, I thought it would be a good time to start the lintel project. After planing the beam smooth, I laid out the arch with a pencil and string. I then laid out cut lines every 1/2-inch witha pencil. With my circular saw I cut on each line down to the arch mark, changing the depth of the blade after every two cuts (one on each side). Then it was chisel, chisel, chisel, then finish it out with a socket slick and finally sandpaper. The beam weighs 235 lbs and it was all I could do to turn it over on the sawhorses!
To make sure I had incentive to get started again I scheduled another workshop for this very weekend. In May I laid the two treated 6X6’s that form the cantilevers, then laid down floor joists from oak two-by-sixes that I got from an old house I  tore down in Newnata about thirty years a go, and have since then been the joists of my old leather shop that we dismantled last year. Last week I screwed down the floor and assembled the logs that we made in the workshop last September. The workshop scheduled for this weekend was cancelled due to not enough students, but it DID get me started on the walls.
01/21/2016 It’s been a while since I posted on their blog, but I have gotten a lot done since then. About the middle of last August I started raising the walls. I’d get two or three logs from the pile in the field onto my bunk trailer, back the trailer down close to the cabin site, notch each log just before putting it up. Some of the logs are BIG–14 feet long,

A view from above, with the joists in place and the 6X6 plates up.
six inches thick, and sixteen inches wide. A log like that weighs maybe 400 lbs so it’s always interesting and perhaps a little dangerous getting it from the trailer onto the wall. By the middle of October all the logs were up. For plate logs I used treated 6X6’s, letting them hang out two feet on the west end and close to eight feet for a porch cover on the east end. September was very dry–we had NO rain that month, so it was a good time for log building. We finished the roof just as the November rains set in. Since then I squared up the window and door holes and put in the window bucks,
Austin adding ridge cap.
and have actually installed two windows–the west one, which is a brand-new double hung that a friend gave me, and the 23X27 plate glass picture window that John Stevens hand-built for our house back in 1990 but we later replaced with a double glass. As I write this it is icy and cold outside, so there won’t be much happening out there for a while.
October, 2016–A lot happened on the new cabin this summer. First came the ceiling.. A friend in Mnt View gave me a bunch of leftover pieces of pine car siding from a job he had done, and that did about half; I bought the rest. Then came chinking…I did the outside first, then ran my wiring between the logs from the inside and then chinked it. chinking involves stapling pre-cut plasterers lath into the space, then troweling in cement mortar. It is tedious and time-consuming work, but I really love doing it! After the chinking was done, I hung the door, then dug through my pile of rough-sawn oak boards and found just enough to make the floor. I planed all the boards, then straightened the edges on jointer and table saw, countersunk the holes, screwed down the boards and plugged the holes with oak pegs. After sanding it down smooth and putting on three coats of polyurethane, it looks pretty darned good.
I had originally planned to give this cabin its own solar system, which would have required a battery bank, solar panels, and a charge controller and inverter, but what I finally did was to run an underground cable from the house, which saved lots of time and money, and works great!.
Go, Dave, Go! Sounds cool. Is a B&B next?
Hi Dave and Maria – I spoke with you this week when you were in the Los Alamos Visitor Center. I told you about David Smith from my hometown, Cascade, IA. Here is a link about him and his music. http://www.davidgsmithmusic.com/
I saw you came in to the LAVC again but I was busy…sorry I missed you both! Hope your time in Los Alamos has been good and that your car got all fixed as needed. I am still going to try to make it to AK one of these days : ) Take care, Annie